![]()
1. DISQUS 가입하기
다음 링크를 DISQUS 통하여 사이트에 가입합니다.
2. DISQUS Website 추가하기
회원가입 완료 후, 아래 사진 절차를 따라 웹 사이트를 추가합니다.
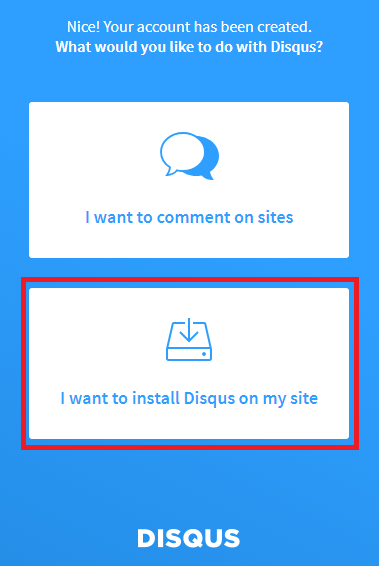
2.1 I want to install Disqus on my site
- 다음 버튼을 클릭합니다
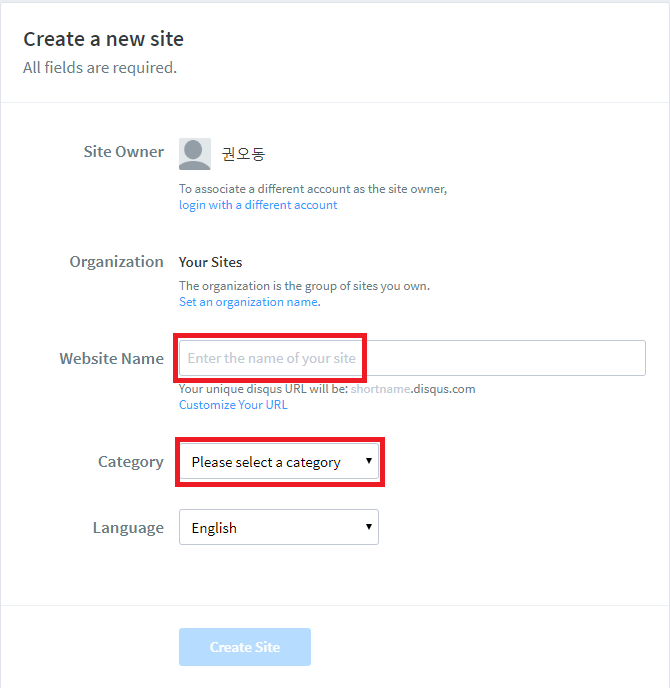
2.2 Create a new site
- Website Name 은 Icarus theme _config.yml 에 연결해줄 명칭으로 사용됩니다.
- Category 는 자신의 웹사이트 목적에 맞추어 선택합니다.
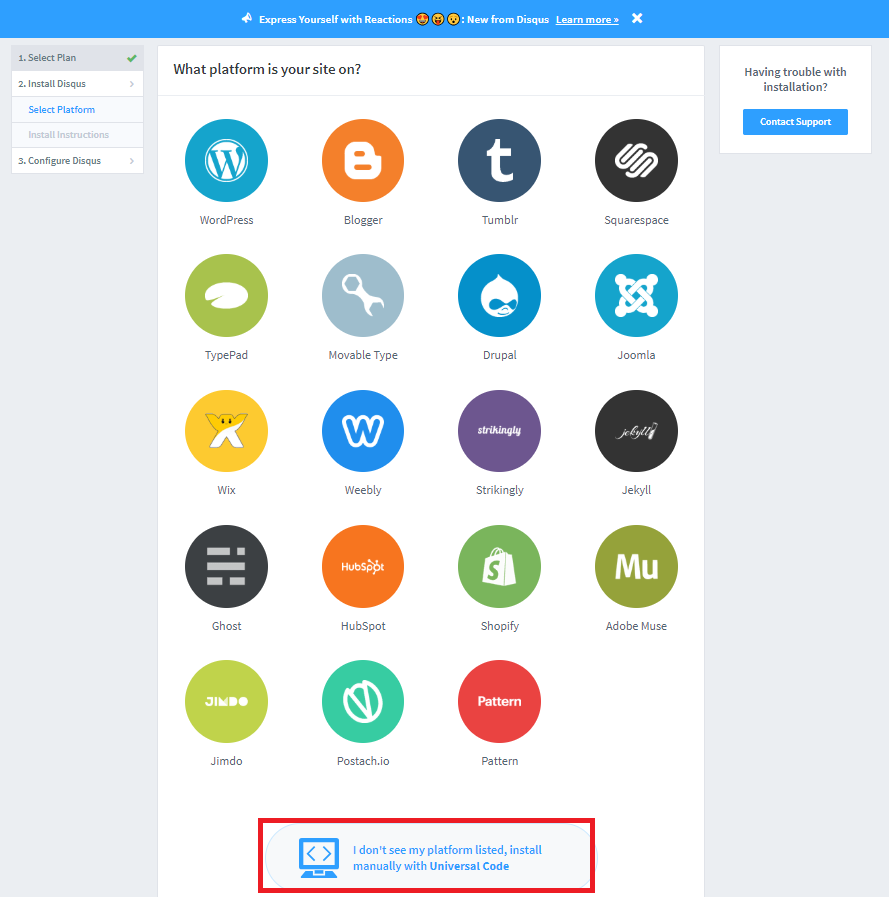
2.3 What platform is your site on?
- 자신의 Blog 의 플랫폼을 선택하며, Hexo 의 경우 목록에 없으므로 최하단 버튼을 선택합니다.
3. Discus 연동 코드 적용하기
2번의 절차를 마치고 나면 다음과 같은 창을 확인합니다.
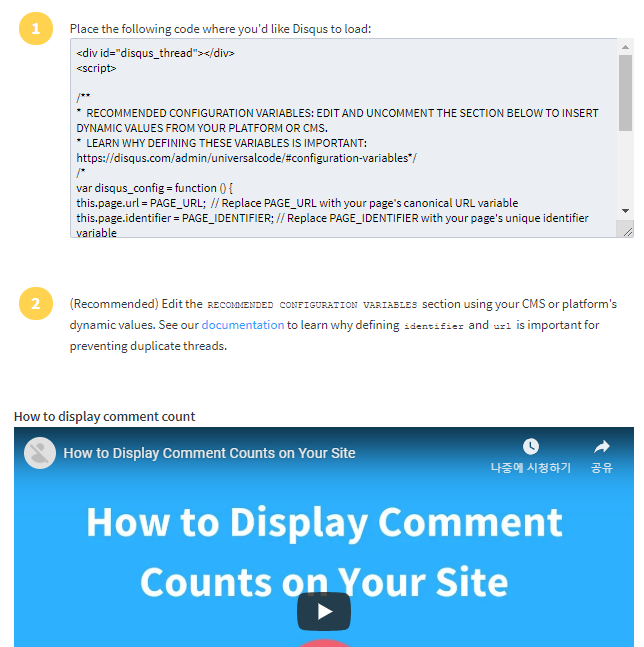
- ../themes/icarus/layout/disqus.ejs 파일을 오픈합니다.
최초 파일 오픈시 다음과 같은 형태로 작성되어 있습니다.
(function() {
      var d = document, s = d.createElement('script');
      s.src = '//' + '<%= get_config('comment.shortname')="" %="">' + '.disqus.com/embed.js';
      s.setAttribute('data-timestamp', +new Date());
      (d.head || d.body).appendChild(s);
  })();
위 사진에서 1번의 소스의
s.src = ‘https://“user-website-name”.disqus.com/embed.js’;를 복사한 뒤에, 위의 s.src 부분을 대체해줍니다.
4. Icarus _config.yml 수정하기
마지막으로 _config.yml 파일을 수정합니다.
- ../thiemes/icarus/_config.yml 파일을 열어줍니다.
- 다음과 같이 config 정보를 수정해주면 연동이 마무리됩니다.
comment:
  # Name of the comment plugin
  type: disqus
  shortname: Disqus Website Name